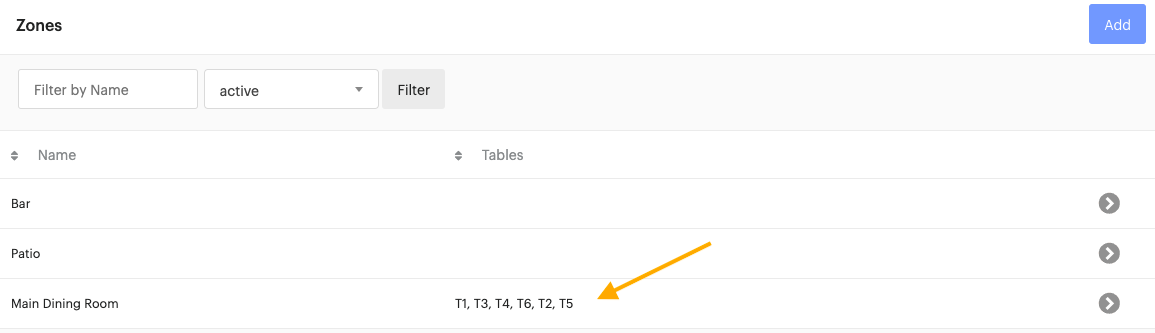
Zones are the areas of your restaurant where servers and bartenders are assigned table sections to service. Zones also appear as revenue centers in your Upserve POS reports, so you compare your sales by section of your restaurant.
After you create zones, you can create tables and floor plans for your Upserve POS. You can assign a specific zone to each employee in their HQ user profile, if you would like them to only create checks in specific zones.
You will need to create at least one zone in order to create a floor plan for your Upserve POS.
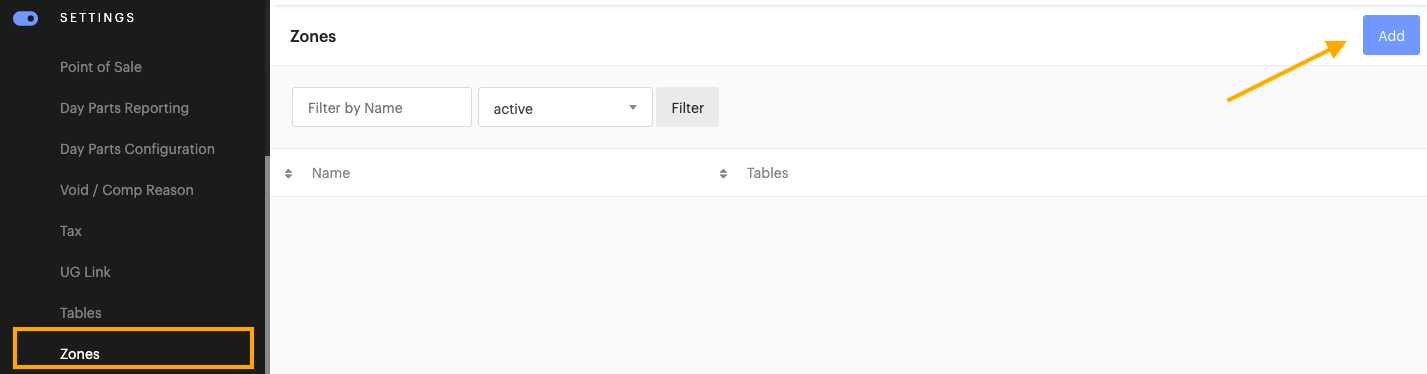
- Log in to HQ
- Click on Settings > Zones
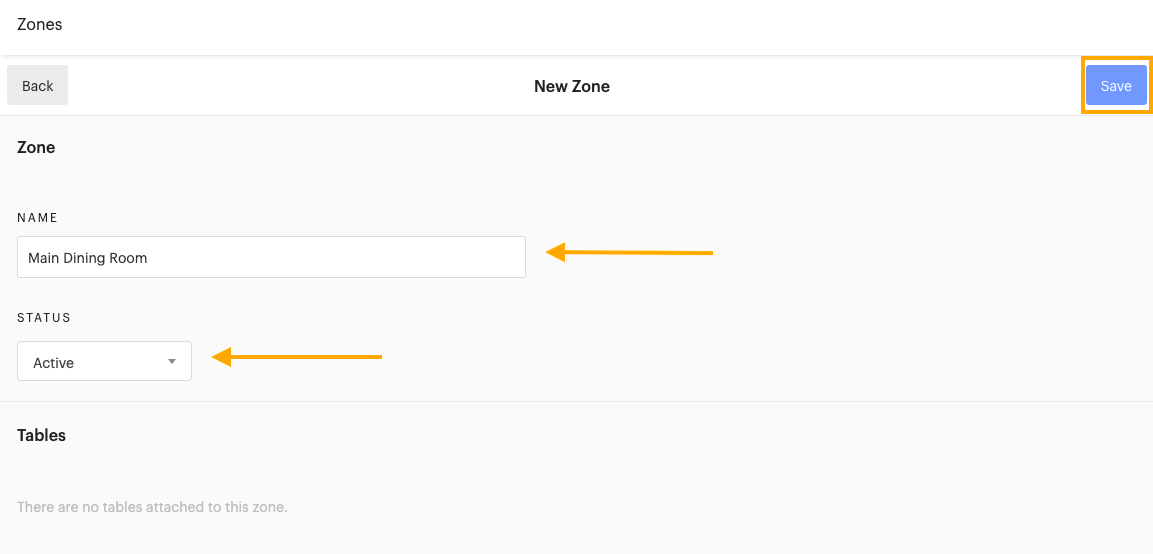
- Click Add
- Enter the preferred name for the new zone (Ex: Main Dining Room)
- Make sure that the Status is set to Active
- Click Save
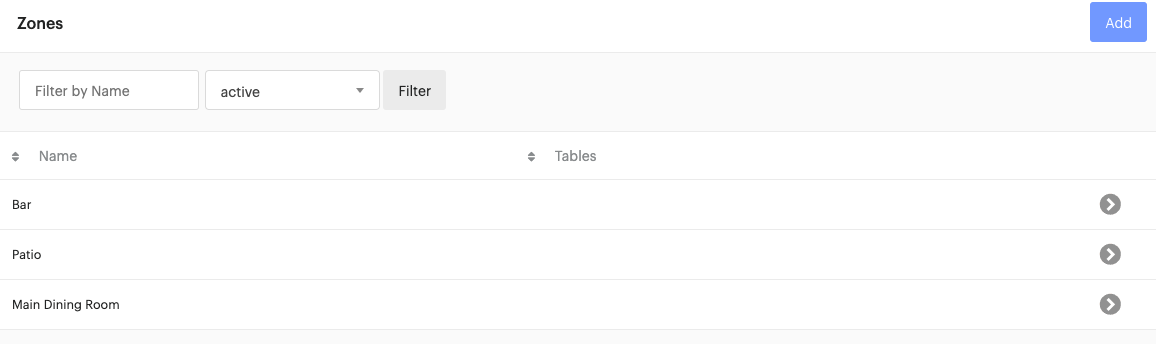
- Repeat these steps to continue adding all of the zones in your restaurant
| Remove a Zone: If you create a zone that you would like to remove, click on the zone on the HQ Zones page. Change the zone's 'Status' from 'Active' to 'Archive'. Click Save. If tables are assigned to the archived zone, you will have the option to archive the tables or to assign the tables to a different zone. |
After your create zones, you can create tables in HQ. Once tables are added to a zone, the tables will appear next to the zone on the HQ Zones page.